When it makes sense, how to begin, and tips for tidy selvedges.
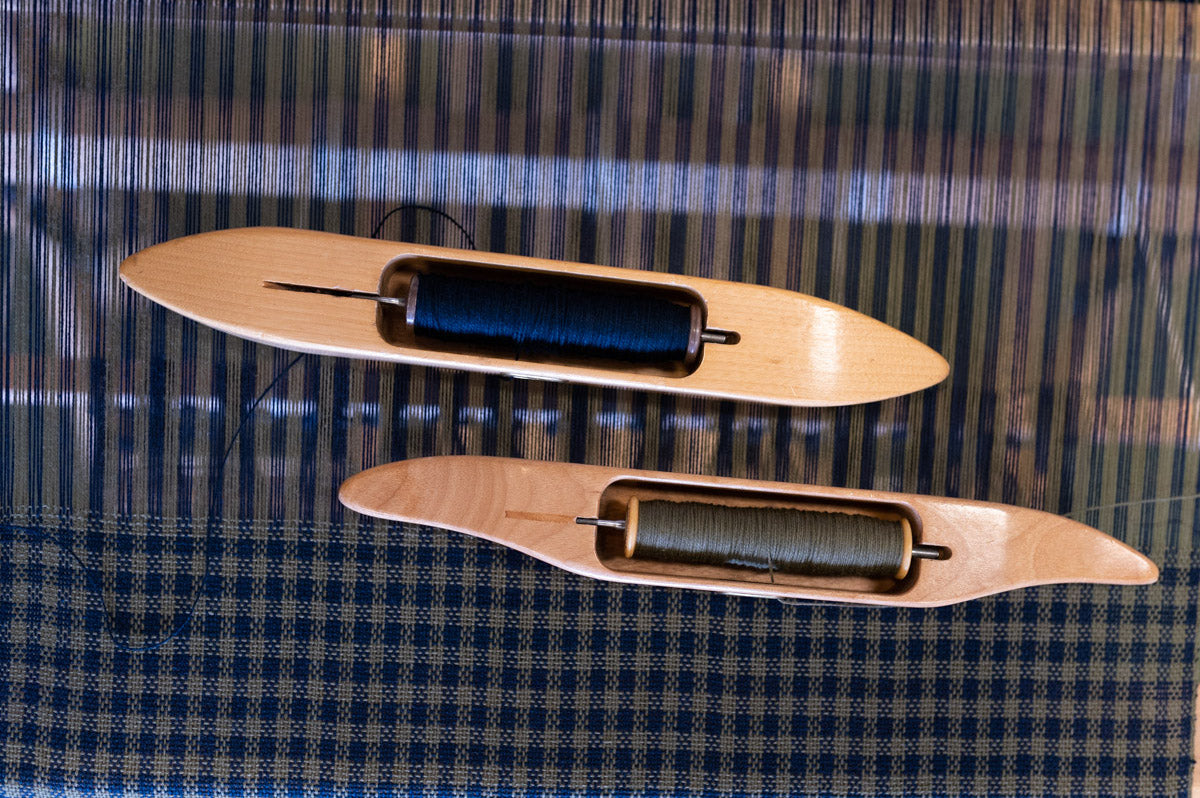
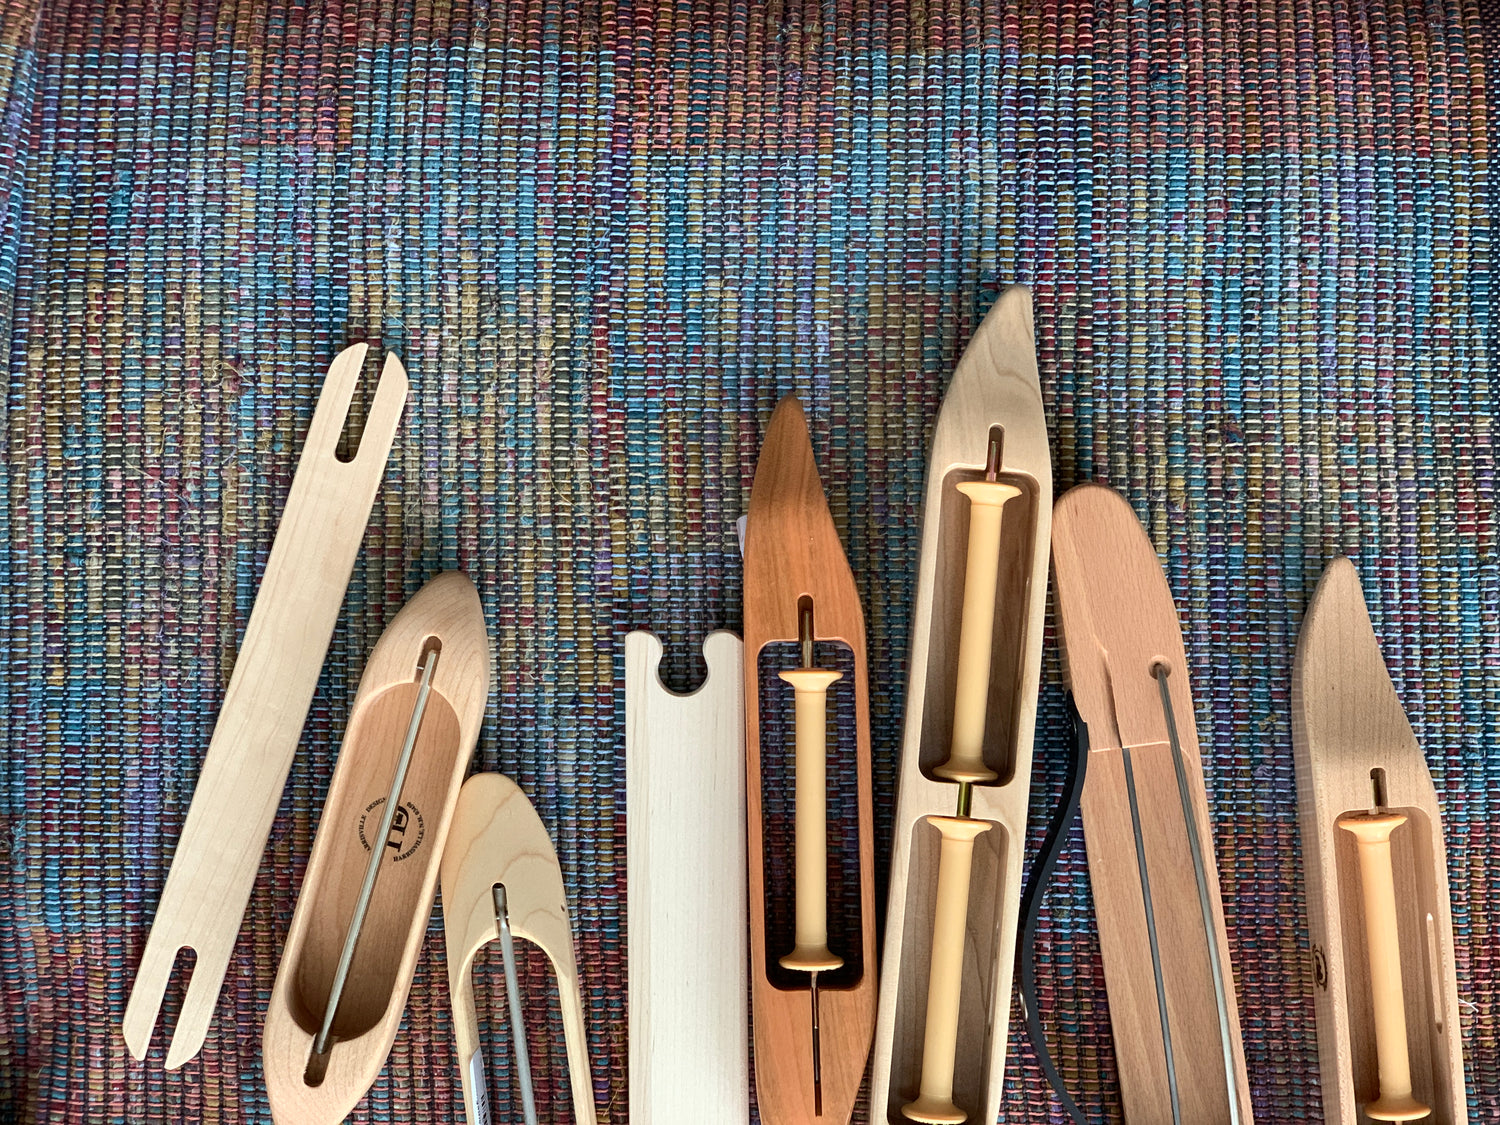
If you are an adventurous weaver for long enough, eventually you will come to a point where the structure or design you want to weave requires two shuttles. This can seem daunting at first, but have no fear! We’ve got guidance for how to make it as painless as possible.
 When do you need two shuttles?
You need to use two shuttles when your weft yarn changes frequently–every pick or every few picks. You don’t need two shuttles to weave thicker stripes in the weft. If your weft yarn changes every few inches, you’ll likely be fine just changing the bobbin when the changes come rather than bothering with a second shuttle.
So why would a project need frequent weft changes?
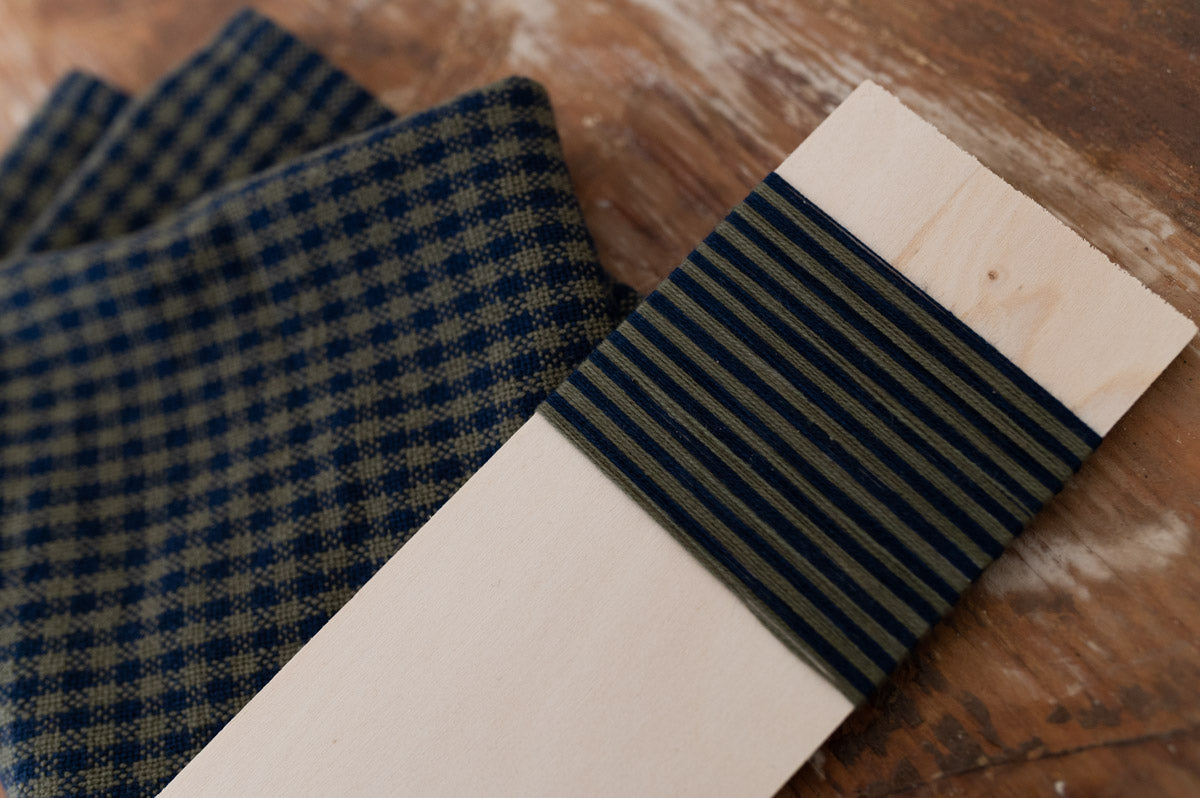
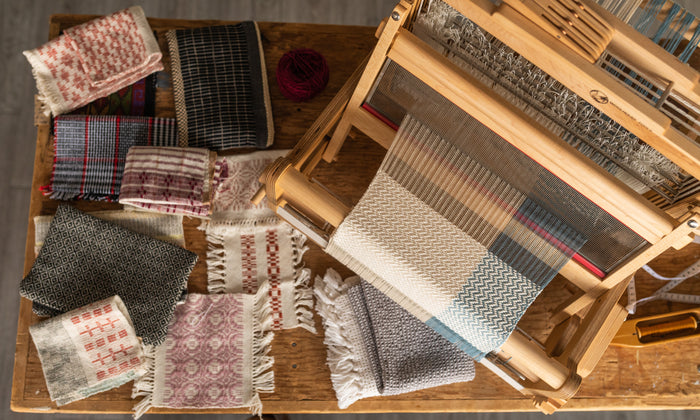
Some weaving designs require frequent weft changes for colour. For example, colour-and-weave designs like log cabin and houndstooth require you to swap colours every pick or two to create a visual effect. Fine plaids and very small checks can also have frequent colour changes. Cutting off at each colour change would be highly impractical, so two shuttles are used instead.
Some weaving designs alternate between two wefts for the sake of texture. Both rep weave and some styles of rag rug weaving go back and forth between one thin weft and one thick weft with each pick. The thick weft adds heft, while the thin weft pins down the bulkier sections, creating a stable, durable weave.
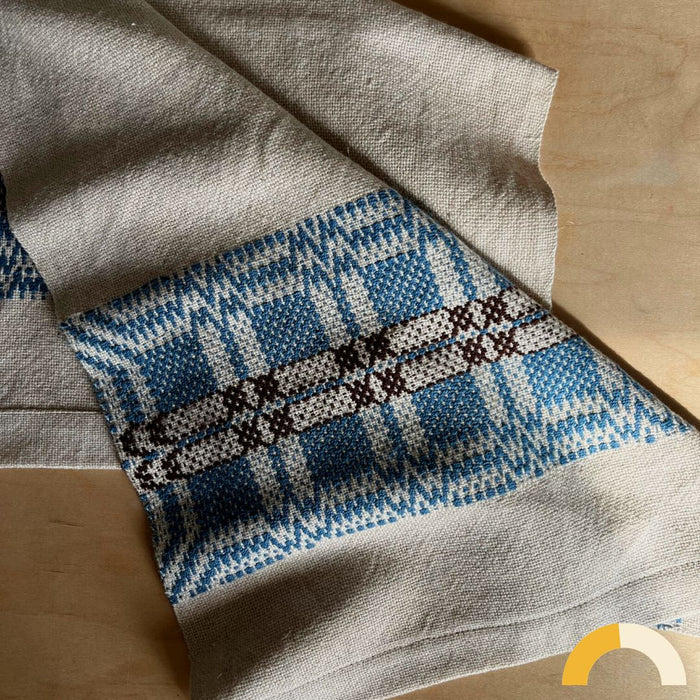
Many kinds of weaving use two wefts for the sake of structure. Styles of weaving including overshot, summer and winter, and crackle use one weft to lay a solid foundation for a second weft that creates an intricate pattern. The foundation weft is called the ground weft, and the one making the pattern is called, unsurprisingly, the pattern weft. Often the ground weft will be woven as plain weave, also known as tabby. If you see a pattern that says “use tabby”, it means to throw a pick of plain weave in between every pattern pick. Often these plain weave picks are not shown in the draft, so keep an eye out for that term in patterns!
The Basics
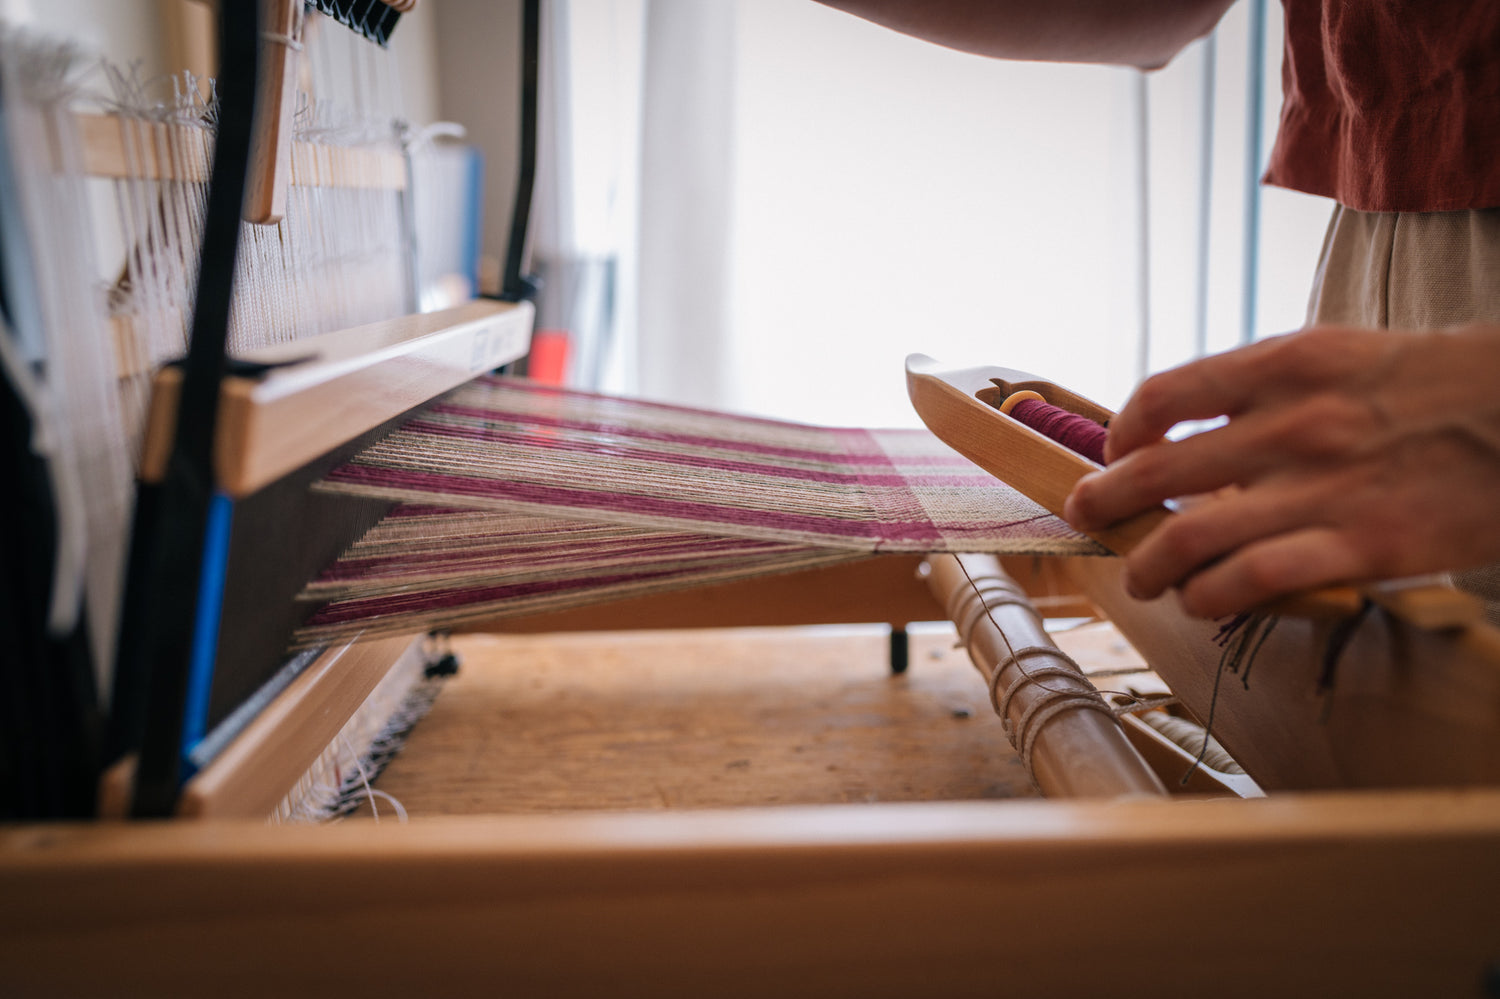
Some things stay the same when using two shuttles. When you through the first pick with either shuttle, you’ll anchor each weft thread just like usual by wrapping it around the selvedge thread, coming back into the same shed, and tucking out the back. It’s best to anchor one weft on one side of your loom and the second on the opposite side. This keeps the doubled-up sections from stacking on each other, and keeps your weaving more even.
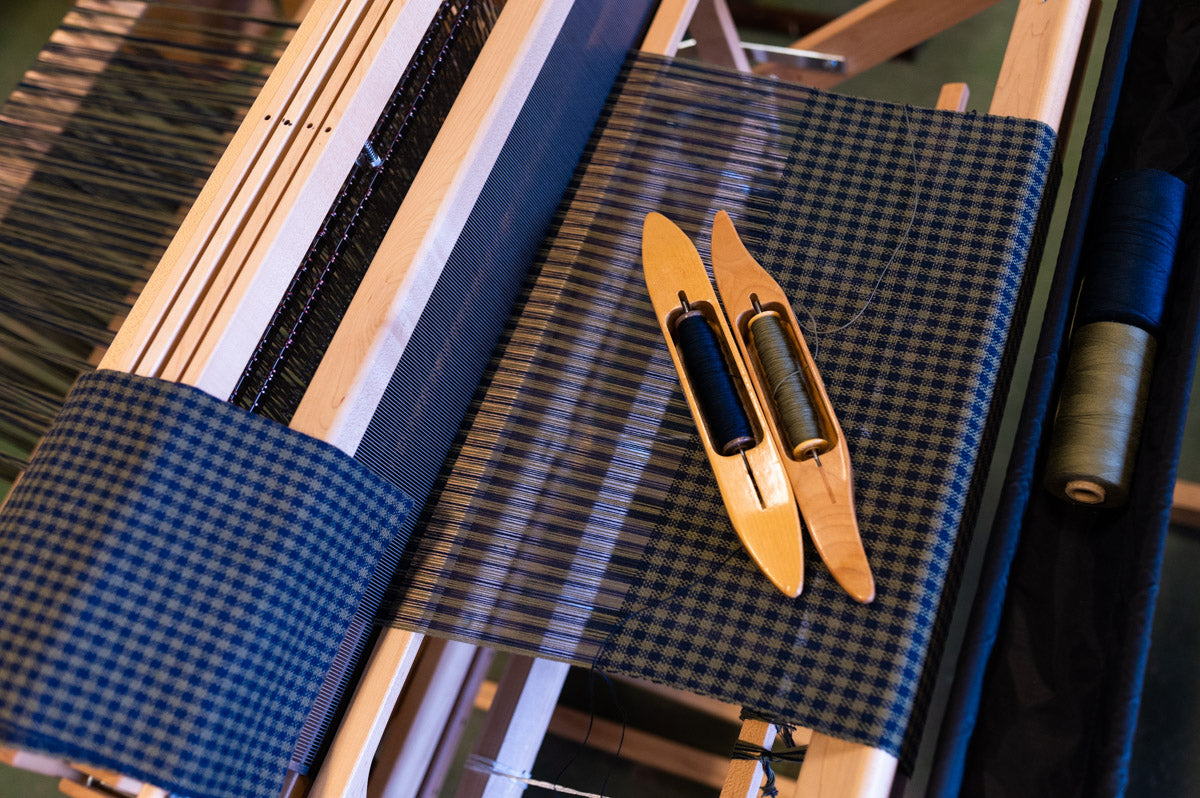
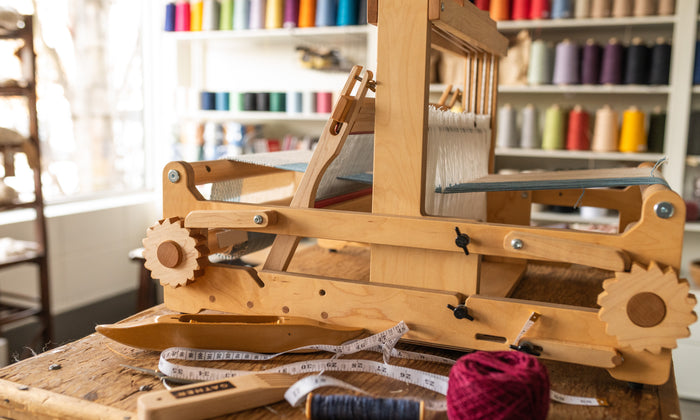
The other thing you will immediately notice is that you’ll need a place to put your shuttles down! If you’re on a table loom, you might already be in the habit of putting down your shuttle on the table between picks. You can just keep that up if so! Some weavers also like placing shuttles in their lap, or in a loom shelf like the Wolf Trap. And of course, it’s also totally ok (and probably most convenient) to just put your shuttle down on the stretch of woven cloth that you’re working on. Just be careful not to advance your warp too far, or you’ll accidentally whack your shuttle off with your beater!
Why Selvedges are Tricky with Two Shuttles
When using two shuttles, selvedges get a bit more complicated. One weft will rest for a while, and then need to be re-introduced. When you bring it up to use it again, it can make a loose loop on the selvedge unless you manage it. Going back and forth between shuttles can also make catching the selvedge more complicated. Usually in plain weave, the selvedges naturally get caught by each pass of the weft, making smooth selvedges. But weaving that same plain weave with two shuttles can result in picks where the weft doesn’t go around the selvedge thread unless you actively make sure that happens. Left unattended, this can also make loops at your selvedges–this time, from warp that has skipped over one or more rows of weft. So how to keep selvedges neat and tidy, with no odd loops from either warp or weft?
Solution 1: Pinning the Resting Weft
Just ignoring the shuttle that you’re not using can create a loop where you have to carry the weft up to where it’s in use again. To solve this problem, use your active weft to pin the resting weft to the selvedge. Bring your active weft out under the tail of the resting weft, then pass it back over the resting weft before weaving your pick. This makes the resting weft run vertically, parallel to the selvedge thread, for a short distance. With the resting weft neatly pinned to the selvedge like this, there are no messy loops.
This does cause a bit of a build up at the edge, though–the resting weft adds one thread worth of width where it is pinned in place. This is part of the price of using two wefts. Best to just embrace the slightly different look! That said, you might want to be strategic about which side you’re carrying up your resting weft on. With a balanced weave like houndstooth, I like to start each colour on a different side so that the weft is carried up partly on the left, partly on the right.
You’ll need to make a judgment call about when it’s best to carry up the weft, and when it’s easiest to just cut, anchor, and start fresh. I usually carry up the weft for anything under about five picks. More than that, and I cut and anchor.
Solution 2: Manually Catching the Selvedge
Solution 1 eliminates loops left by carrying up the weft, but what about the loops left by warp ends when they’re not caught by the weft? For a smooth edge, the weft needs to come out under the selvedge and then back in over the selvedge (or vice versa) to bind it into the cloth. When you’re switching back and forth between shuttles, this doesn’t always automatically happen.
You may need to manually catch the selvedge. To do this, you need to change how you bring your shuttle into the shed. Instead of passing your shuttle straight into the shed opening as usual, bring it in between the selvedge thread and the warp end directly next to it. If your selvedge is on the bottom of your shed, bring it up from underneath between the selvedge and the next thread on the bottom. If your selvedge is on the top of your shed, bring it down from above between the selvedge and the next thread on the top. Your weft should now go around your selvedge, eliminating loops.
Depending on your project, you may find that you need to manually catch the edge only once every handful of picks or more often than that.
Solution 3: Floating Selvedges
If you don’t want to have to think about whether or not to catch the selvedges each pick, here’s a way to be sure to catch them every time. Floating selvedges are extra warp ends with only one job: to provide a clean line for your edges. To add floating selvedges to a warp, wind one extra end at the far left side of the warp, and one extra on the far right. I like to beam my floating selvedges along with the rest of my warp, but some weavers prefer to weight them and dangle them off the back like you would a repair thread. Don’t thread the floating selvedges through heddles. Sley each one in its own dent at the left and the right of your project. Tie them on along with the rest of your warp, as you would normally do. The floating selvedges should ‘float’ just above the level of the rest of your warp.
Every time you throw a pick, bring your shuttle in under the floating selvedge on your way into the shed, and over the floating selvedge on the other side. (As with many weaving things, you can also do the opposite: in over, out under. Just be consistent.)
Tips for Weaving Ground and Pattern
When you’re weaving a structure that has both a ground and a pattern weft, there are a few special considerations to keep in mind. For most of these structures, ground weft should be about half as heavy as pattern weft. Usually the ground weft is the same size and material (and often colour) as the warp. If you’re using a pattern that tells you otherwise, follow the instructions! But for designing your own, these are handy things to know.
Your ground weft will usually be very predictable, while your pattern weft has more changes. In overshot and crackle, for example, the ground weft weaves plain weave: shafts 1&3, then shafts 2&4. Pretty simple, but if you make a mistake the pattern weft won’t be properly secured! It’s best to take the guesswork out of your tabby picks by coming up with a system and sticking to it. I always throw my tabby picks to the left when I am pressing my left tabby treadle, and to the right when I am pressing the right one. This means I always know which tabby pick comes next, freeing me up to focus on changes in the pattern weft.
The purpose of ground weft is to pin down warp ends and provide stability to the weave. This means it’s likely pinning down the pattern weft at the edge with each pick, which is a real help, structurally speaking. The downside is that if you’re not careful, the ground weft can trap loops of pattern weft on the edges! Especially when you’re starting out with ground and pattern weft, go slowly and pay careful attention to your edges as you go.

