The Campfire Collection
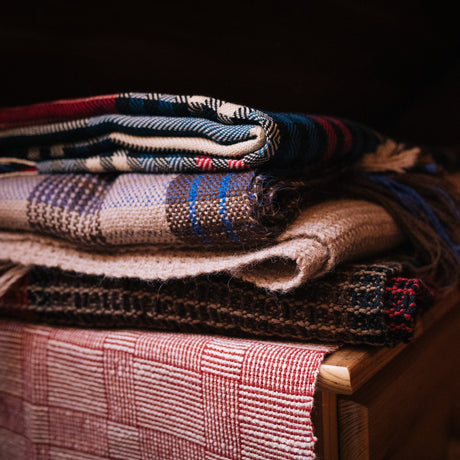
The colder it gets outside, the more pleasure there is in bundling up in a blanket and warming your hands by the fire. There’s a level of warmth and comfort...
Angela Kelly |
The colder it gets outside, the more pleasure there is in bundling up in a blanket and warming your hands by the fire. There’s a level of warmth and comfort...
Angela Kelly |

People are often wary of weaving with linen. It has a reputation for being unforgiving. We have put together some of the reasons why we love working with linen and...
Kim McCollum |

Our First Learning Resource: Beginner Tapestry: Weaving on a Hand Loom Check out our first Youtube video! We are excited to share with you some techniques for weaving on our...
Kim McCollum |

For our first project we wanted to create a simple top that would transition well through the seasons. We wanted the top to look good with mid-high rise jeans and...
Kim McCollum |