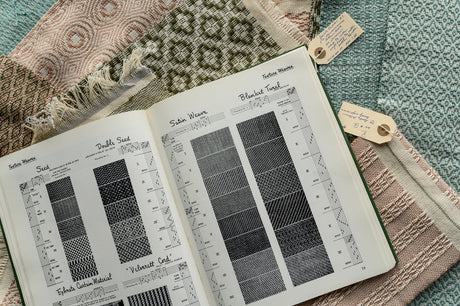
How I Became a Marguerite Porter Davison Fan
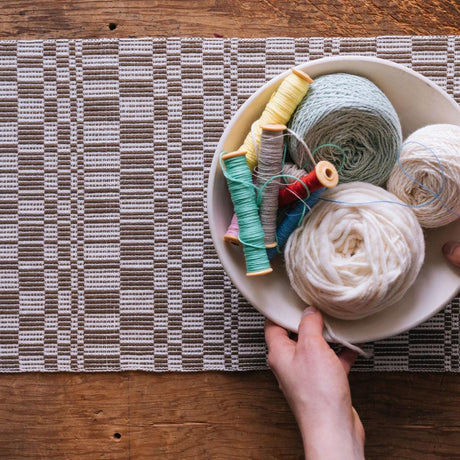
When we start weaving, we also start collecting: yarn, reeds, odds and ends, shuttles, bobbins, and of course books. My current weaving library is probably closing in on 100 books these...
When we start weaving, we also start collecting: yarn, reeds, odds and ends, shuttles, bobbins, and of course books. My current weaving library is probably closing in on 100 books these...
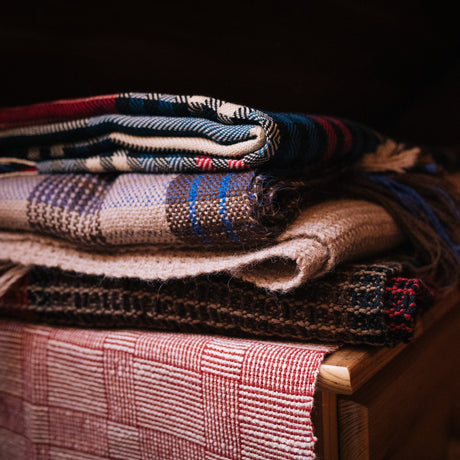
The colder it gets outside, the more pleasure there is in bundling up in a blanket and warming your hands by the fire. There’s a level of warmth and comfort...

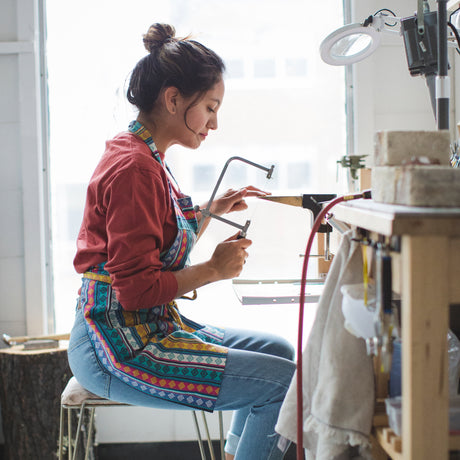
Our new Campfire collection features designs from many Canadian weaving designers, including Amanda Rataj. Amanda is a working artist and weaver whose explorations of weave structure are a joy to...
At Gather, we love collaborating with weavers and designers from all over. We are so pleased to feature a pattern from Curly & Yarny as part of our Campfire Collection!...
Today we’re talking about double weave: the structure that is on every new weaver’s bucket list! It’s easy to see why double weave captures weavers’ imaginations. In double weave, you...
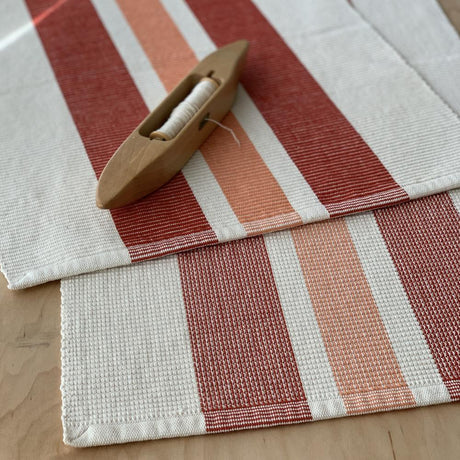
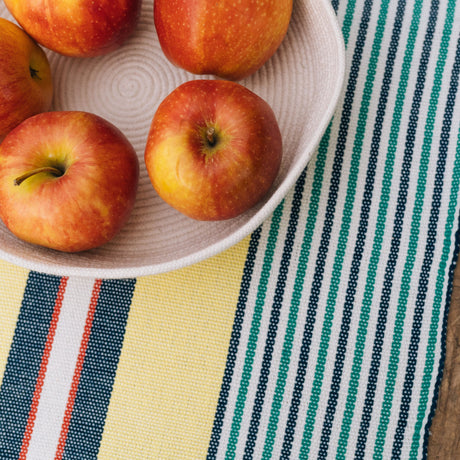
You may not have heard the term “rep weave”, but you have almost certainly seen a piece of rep weave in person at some point in your life. Rep weave...
It’s amazing what complex designs you can build from the simplest components. All of the incredible things we can do with our computers come down to a simple binary code...
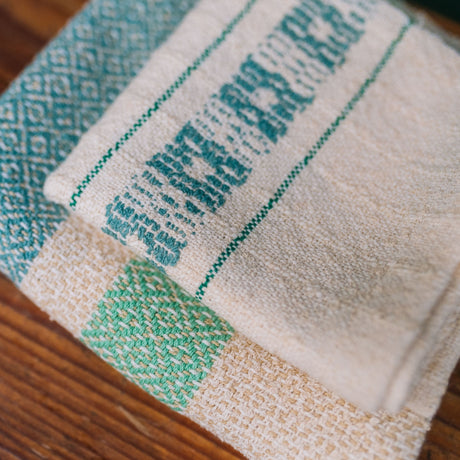
With a pop of vintage green, a floral motif, and a wonderfully nubbly texture, this hand towel feels like a treasure you discovered in the bathroom of a perfectly quaint...
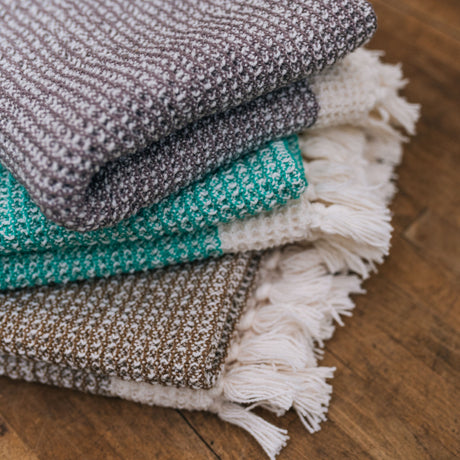
In many ways, waffle weave is a delightfully straightforward weave structure. It is well-suited to four-shaft weaving, and uses a simple point twill threading. It gets its name from the...
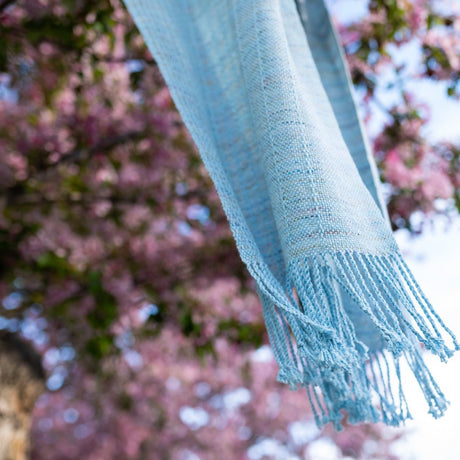
Introducing our newest kit for rigid heddle loom weavers: the Ripples Rigid Heddle Scarf. Wrapping yourself up in a cozy scarf on a chilly day is such a simple but...
Our recent round of craft collaborations wouldn't have been complete without our long-time collaborators The Northside Girls! You’ve likely met Master Weaver Shannon Nelson if you’ve been into Gather’s studio....
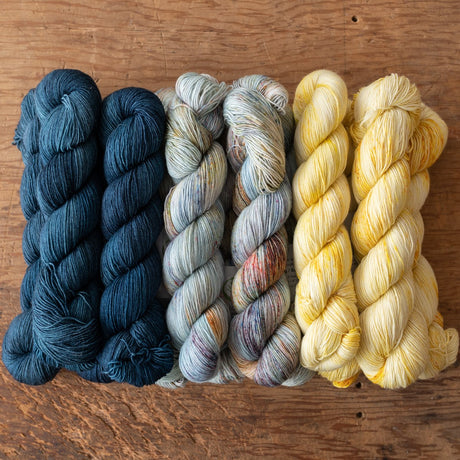
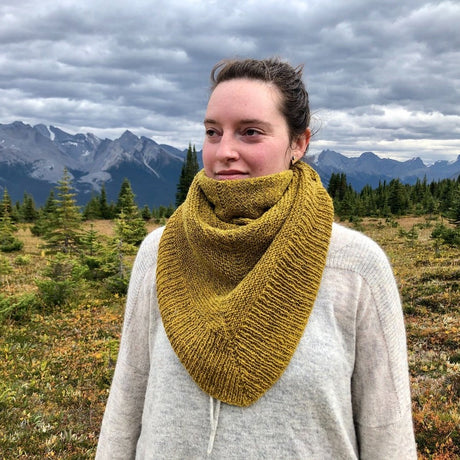
Ancient Arts Yarn is an Albertan company that hand-dyes an incredible range of beautiful yarns. We’ve brought their Revival base into our store in two custom colours--a soft, sunshine yellow called...

Let me tell you a secret about weavers: we are all knitters. Or at least former knitters, for the most part. Weaving is usually at least someone’s second or third...
Gather is absolutely thrilled to be featuring patterns from Megan Samms, a weaver, regenerative farmer and natural dyer in Katalisk Sipu (Cordroy Valley, Newfoundland). Through her business Live Textiles, Megan...
Gather’s collaboration with Hand Laboratory started very simply: “Kim got in touch and said we like what you do, do you want to make something for Gather?” Victoria Sanchez remembers....
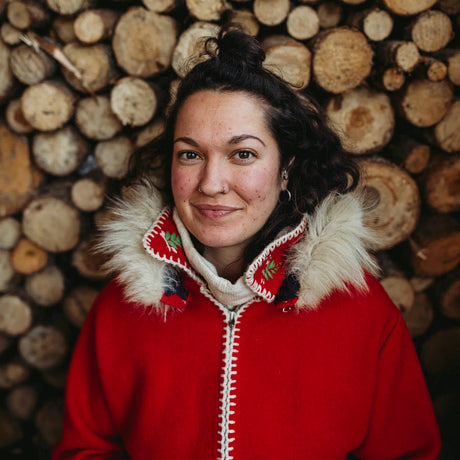
Kalea Turner-Beckman should be no stranger to anyone in the Edmonton knitting scene. A co-founder of the Alberta Yarn project and passionate natural dyer, she has been working to connect...